The Rudder
I had initially planned to build a new, lighter, fair, & watertight rudder as a winter project, but like many other jobs this got put on the wish list. These rudders are prone to waterlogging as the rudder post expands at a different rate to the FRP, this is a problem I’ll have to live with for a while. The List & photo’s below catalogue the work that was done on the rudder.
- Dropping the rudder
This involved removing the radial style quadrant, unbolting the bronze shoe on the skeg (which took some persuasion) and dropping it with some gentle swinging from side to side and a couple taps with a hammer on the shoe.
Being a lake boat, all the metal hardware came apart remarkably easily. It’s also worth noting that the rudder itself is remarkably heavy. I’m guessing it weighs about 50 lbs.
-Repairing the Tip
The tip sustained some damage, resulting in a crack forming on the trailing edge. I ground it back until good material was reached and performed a basic wet lamination, with a couple layers of 1708 staggered by 25mm (1”).
-Stripping & Repainting the Rudder
40 grit sand paper made quick work of removing the old paint. Some spot & pin hole filling was done with a polyester filler in most cases (basically bondo) and then the rudder got the same 3 coats of barrier coat (rolled) as the hull.
A 6” foam roller was used to apply the paint leaving a relatively smooth finish. The paint does eat the rollers after a time. I went through 2 rollers per coat on the hull & rudder. It’s important to move fast, especially in the heat I was working in.
-Aligning the Rudder & Fairing the Entry
On reinstallation I noticed that the rudder was misaligned by atleast 3 degrees making it fairly tight when rotating it. I made some adjustment to the bottom of the skeg where the shoe seats with a flap disc on an angle grinder to improve alignment. The top of the shaft goes through a fibreglass tube thats glassed into the hull and deck, it was much easier to make alignment adjustments at the shoe end.
Once aligned, the rudder gap was horrendous and uneven, so I took the opportunity to create a smooth entry into the leading edge to even up the gaps and ”pot” the shoe at the same time. To do this I put 2 layers of 1/16” PVC tape on the leading edge and top of the rudder to create an 1/8” offset and did a thickened (with cabosil) resin “squeeze” or “pot.“ A second fill and some light fairing was needed to finish the shaping.
You may notice some cracks in the resin squeeze. this is where the resin got too hot while it was curing. I used standard polyester laminating resin. For doing large volume squeezes in the future I will search for an alternative resin that has less aggressive exotherming qualities. I hope that the misalignment was always present, and not a function of being on the hard for so long, where the misalignment may reverse upon sitting in the water again. This remains to be seen.
I also wish I had faired between the shoe and the rudder to match the skeg/rudder fairing.
If I ever drop the rudder again I will remove the shoe totally from the shaft & have a bushing put between it and the shaft to reduce the amount of play that exists.


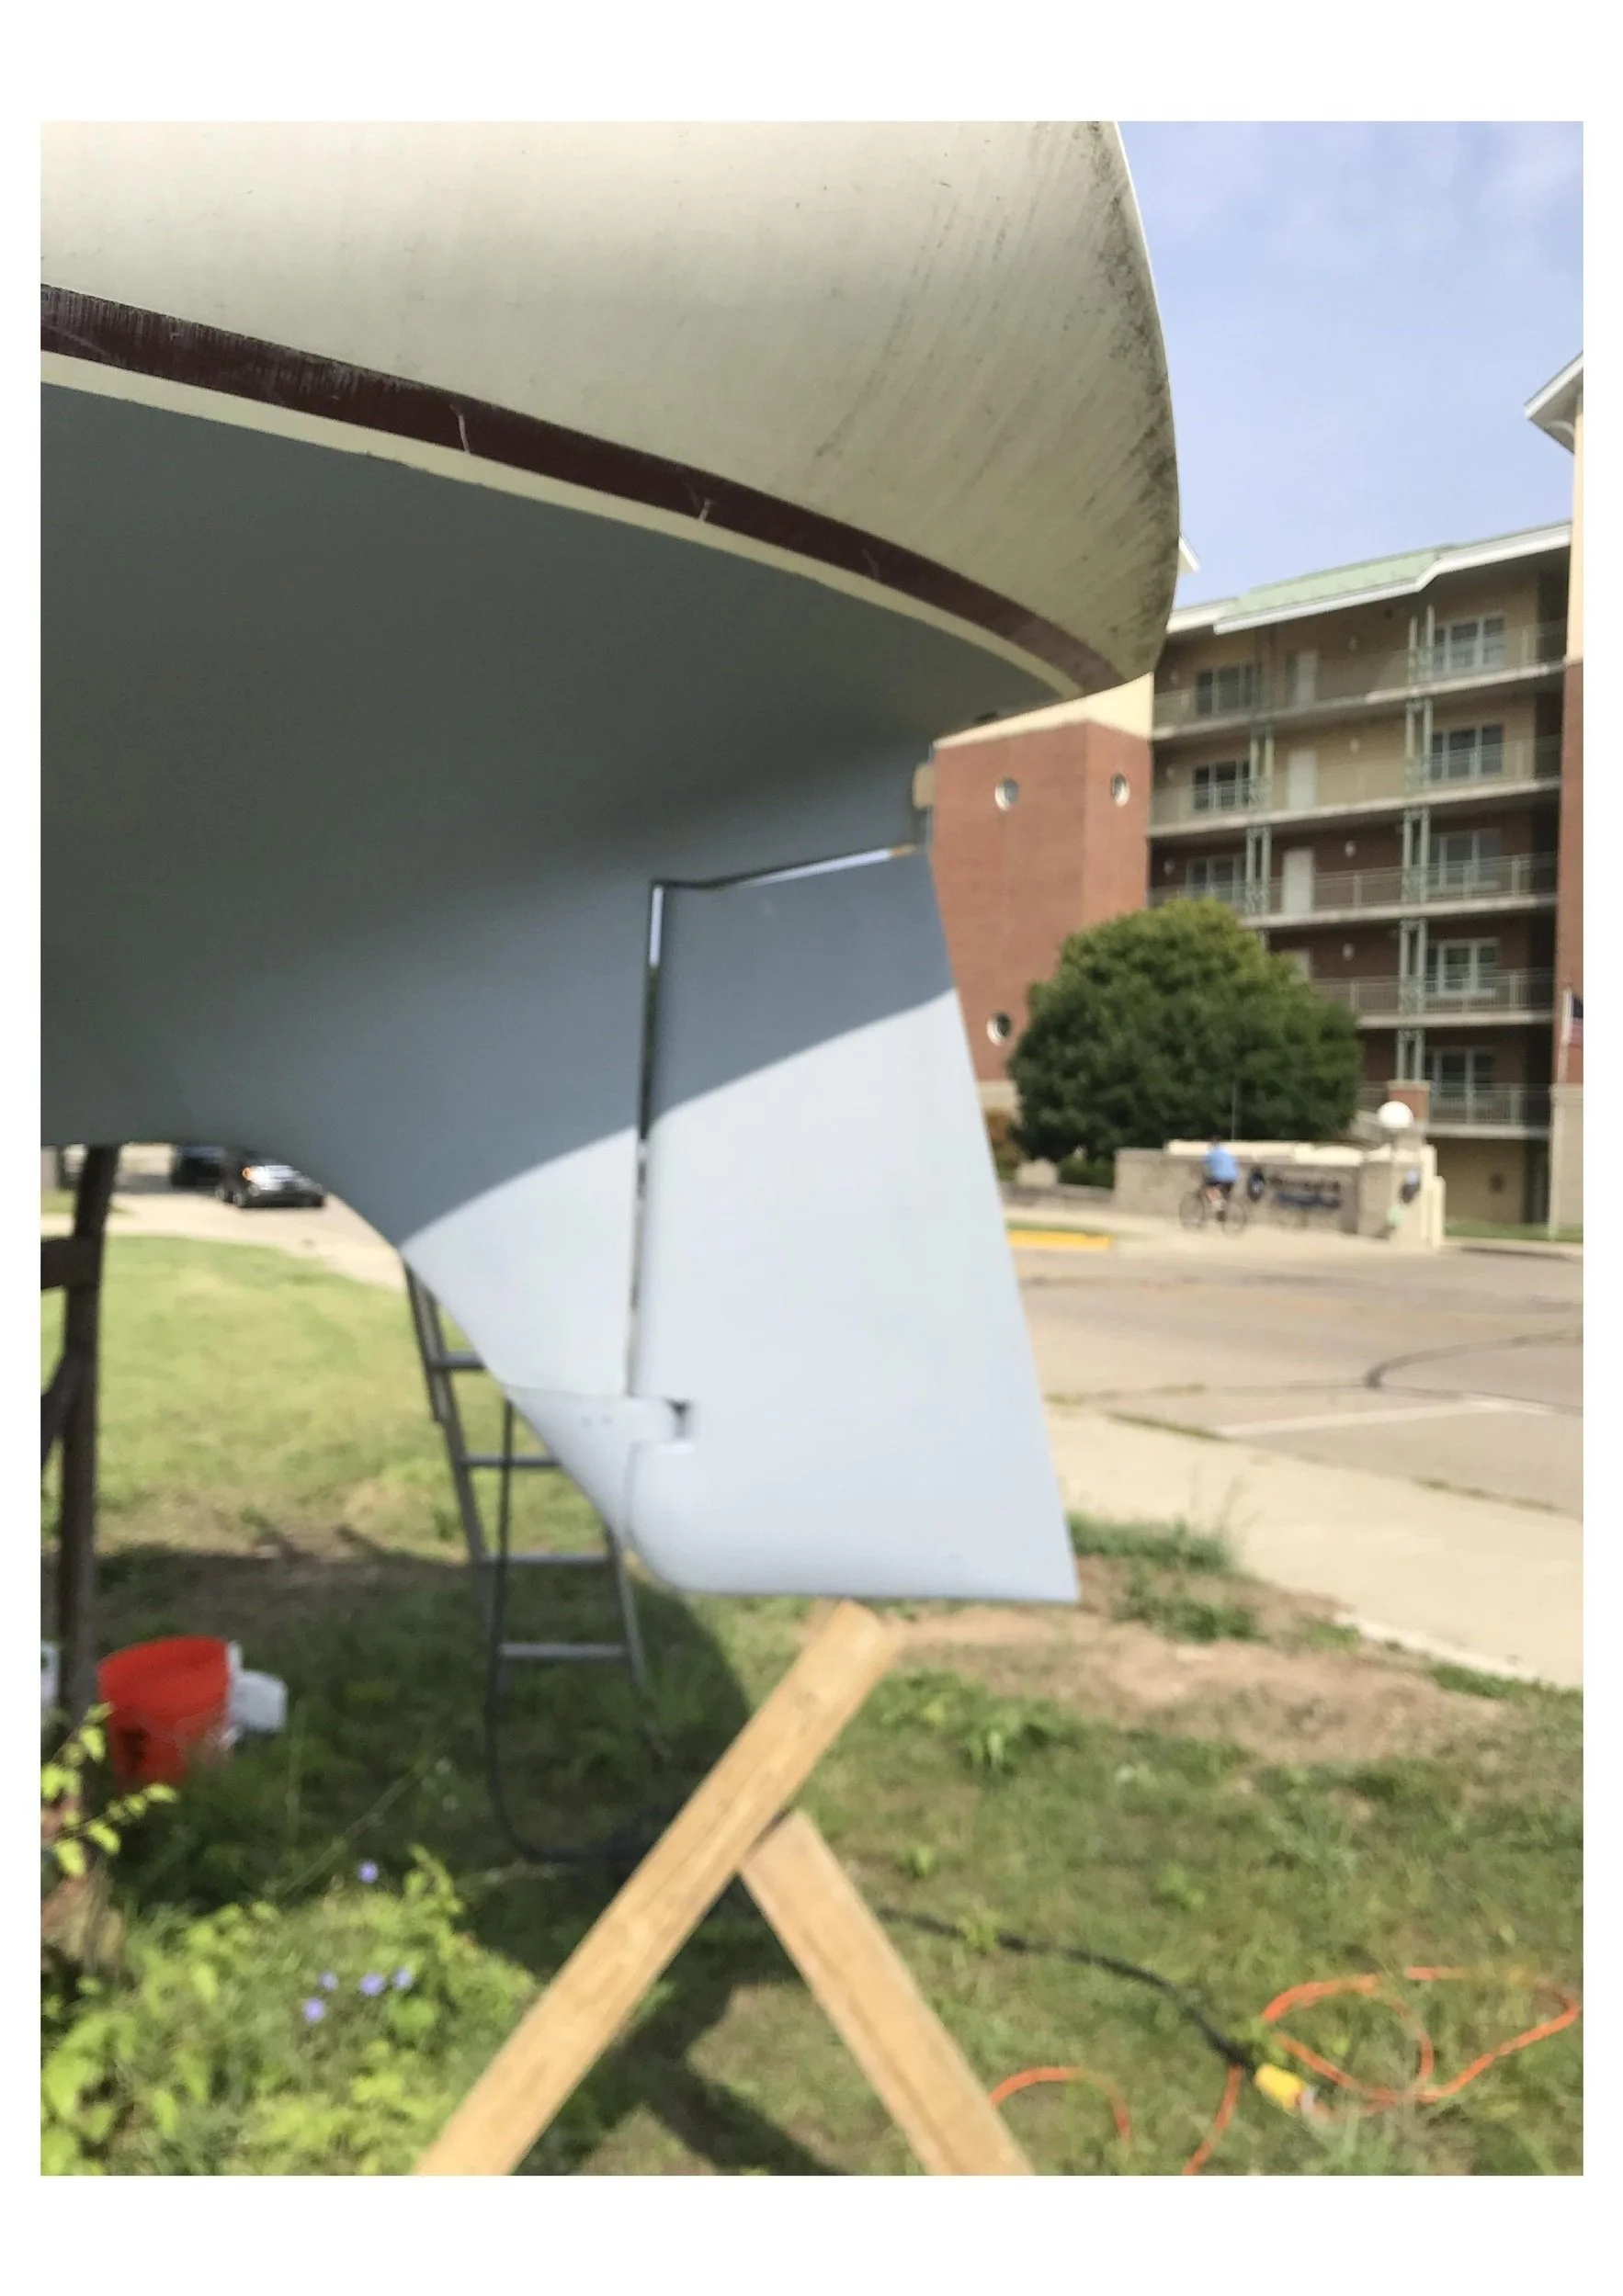
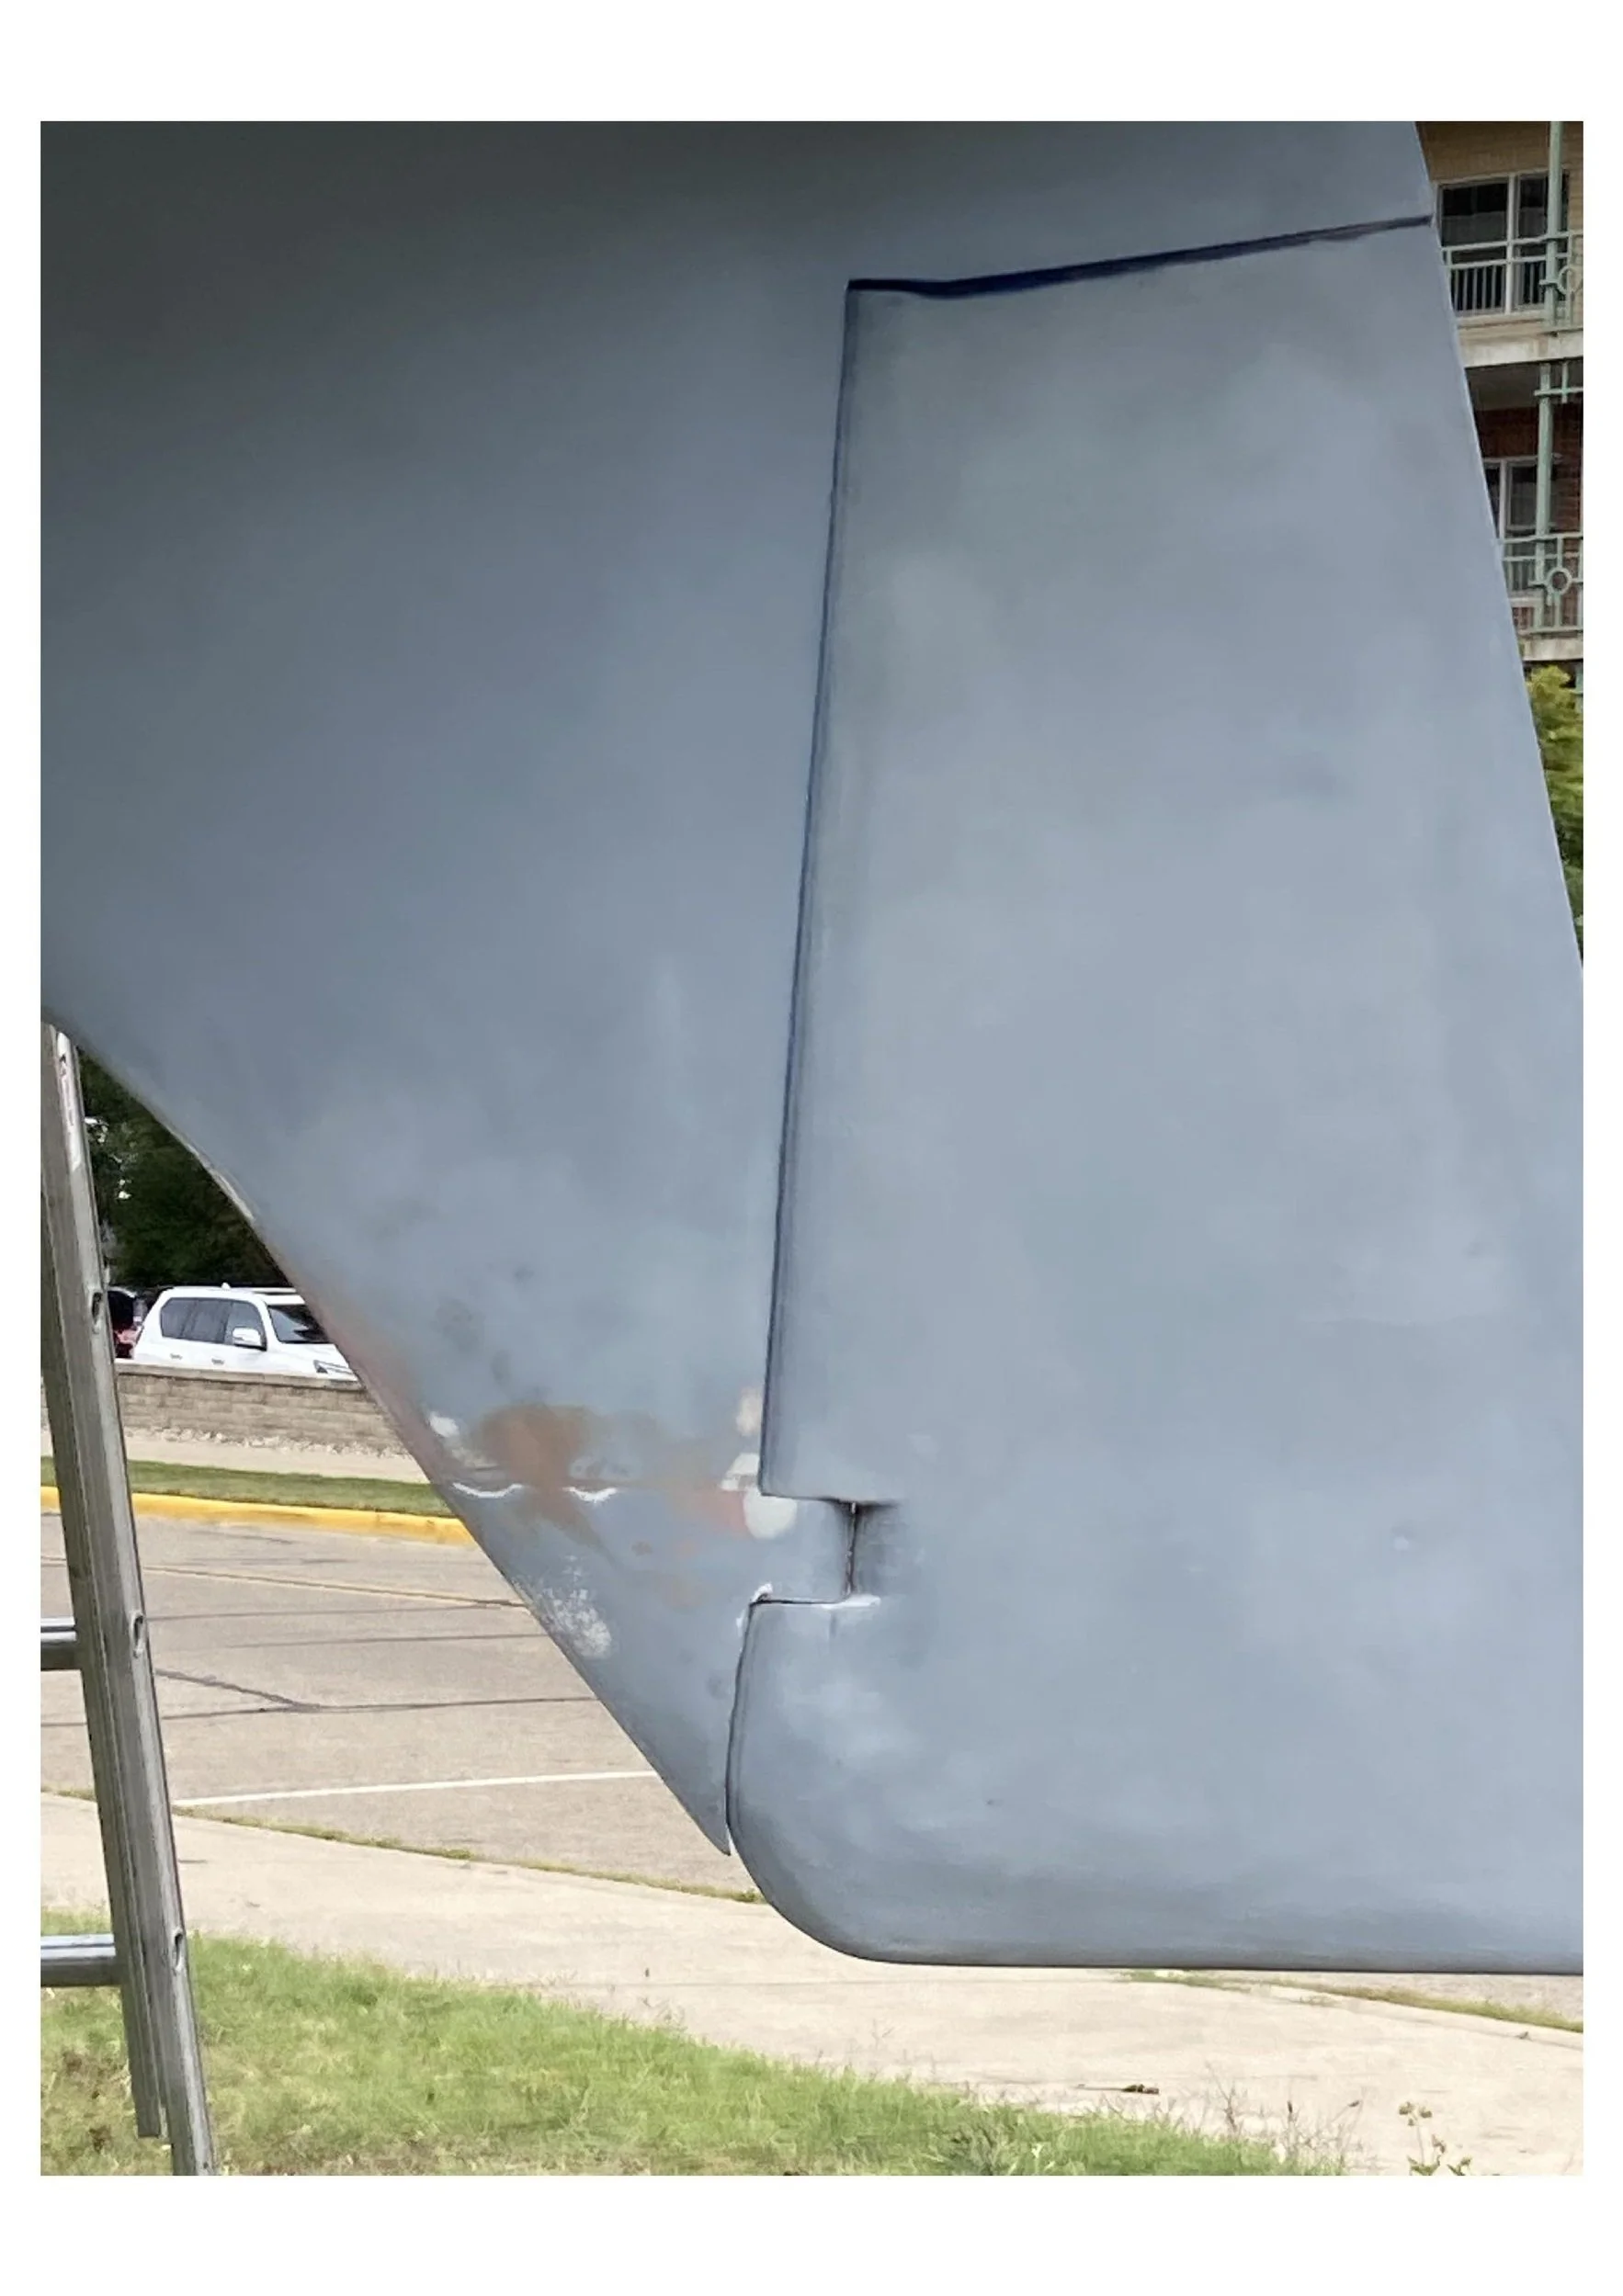
Here you can see the rudder gap after re-aligning the post with the tube.

Often times I will use tape and a fine pen to make precise markings on where to grind back to.

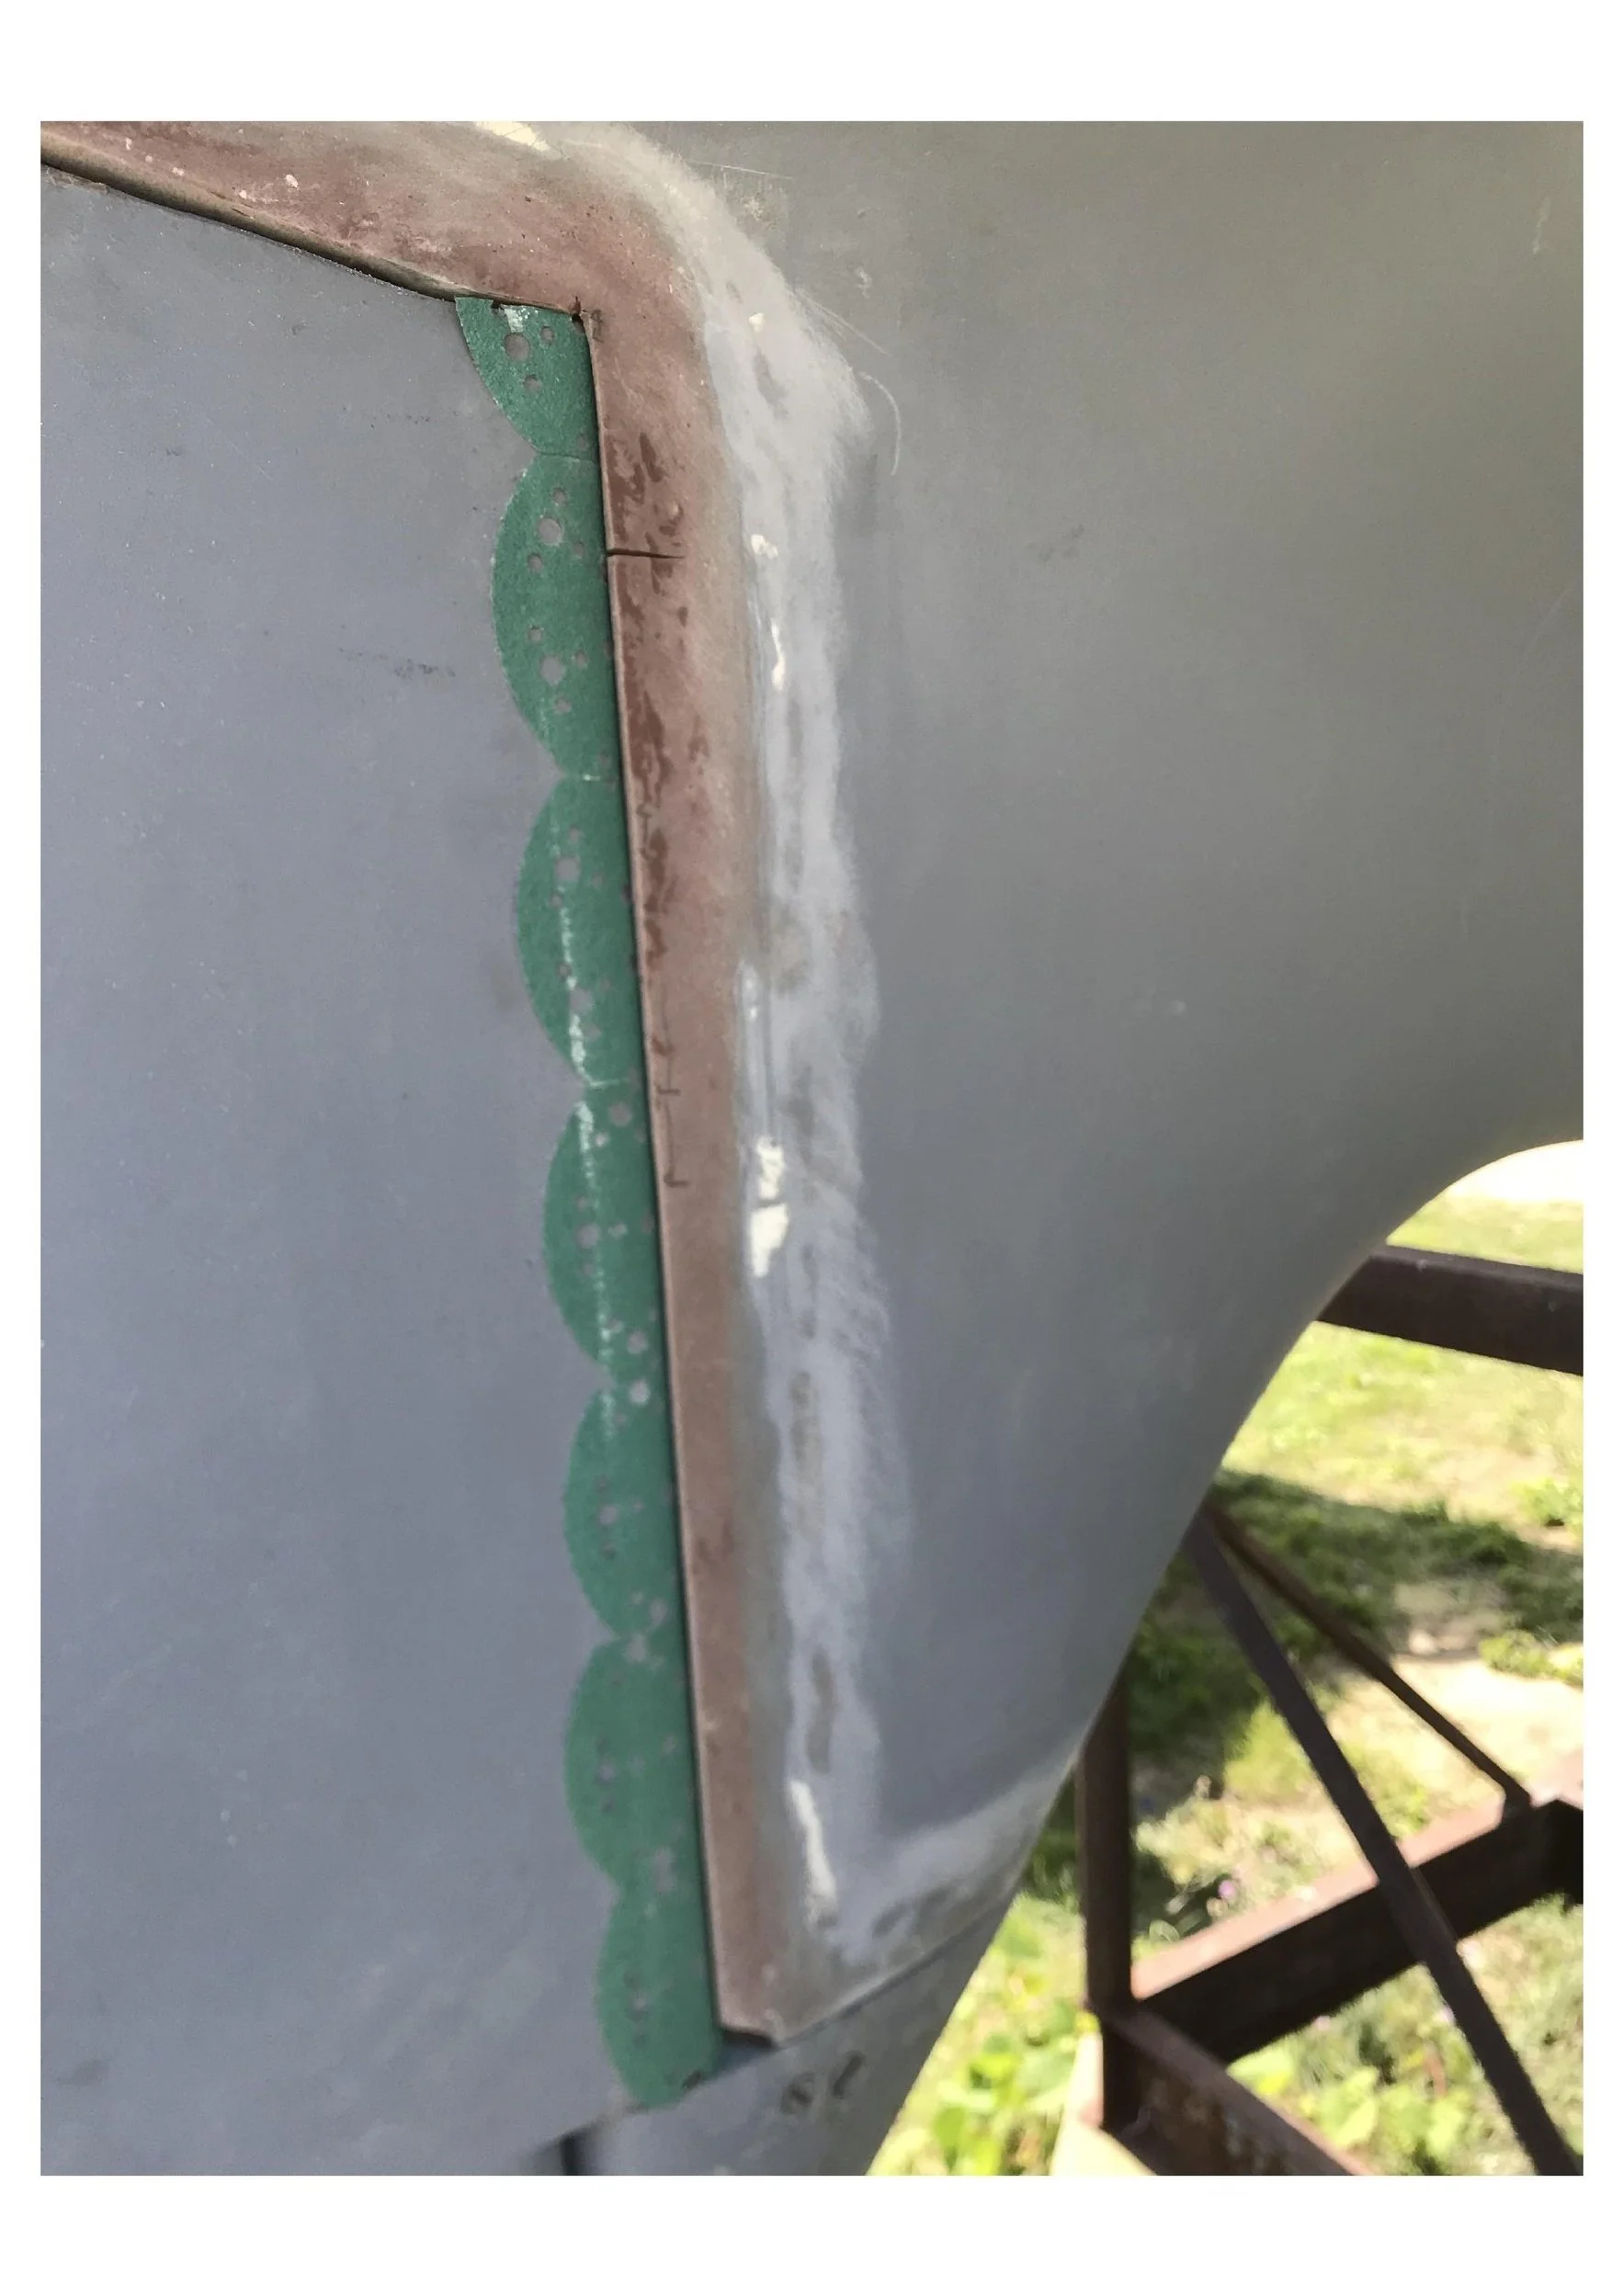
Shaping up the initial squeeze. You can see some voids where I didn't squeeze enough resin in, but atleast the limites were defined, making a second scrape fill easy.

Here you can see a crack where the resin got too hot.


By spray gluing some sandpaper on the rudder and fitting it up I could find the high points and determine where to grind more material out to ensure the rudder gets its full range of movement.


This is after the final fitup. You can see where the shoe has been faired into the hull. This will all be receiving another barrier coat before bottom paint. 2 coats of bottom paint were applied on the skeg and top of rudder, where it would be difficult to get a brush later.